Building the Best Enclosed Racecar Trailer - On a Budget
- Joseph Scaglione
- Jan 19, 2023
- 7 min read
Updated: May 1, 2023

The Backstory -
Track days were rarely planned. How can you plan an enjoyable afternoon at the racetrack weeks in advanced when you're not even confident the car will start the next time you open the garage? For us, they were usually initiated by a "yo, test and tune tonight???" text sent an hour before the event. From there, the first call was always the local U-Haul to check if they had a car trailer ready to go. They caught on to the fact that we were always in a rush, and it all usually worked out. However, by the time we were showing up to the track, the snack stand would have already began selling their end of the night discounted food. Delays getting to the track, along with the reoccurring costs of the U-Hauls were enough motivation to make buying a trailer a priority.
Despite the higher cost, an enclosed trailer was the only option. It takes up the same amount of space as an open trailer in the driveway and serves as indoor storage when you aren't using it. The only drawback to an enclosed trailer (which irrationally bothered me) was that you couldn't see the car that's being towed. I love the look of a racecar on an open trailer being towed down the highway. Because the racecar is hidden with the trailer enclosed, you also wouldn't get the "LOOK MOM!" effect. To those who don't understand, that describes the instance when a child shouts, "LOOK MOM!" and points to the sick car passing by. That is the moment a parent's driveway becomes destined to transition to a shit box parking lot in years to come.

Finally, a 20 ft Haulmark was purchased. I always had a vision for what I wanted the trailer to look like. The poorly edited photo above shows what that vision was at the time. I bought it in Maryland, about a month before graduation To pick it up, I left straight from school and had zero intention of taking it home to NJ before graduation. The plan was to park it in the lot where they kept all of the school owned equipment. Who would even notice?
YOU WOULD NEVER GUESS WHAT HAPPENED NEXT!!!!!!
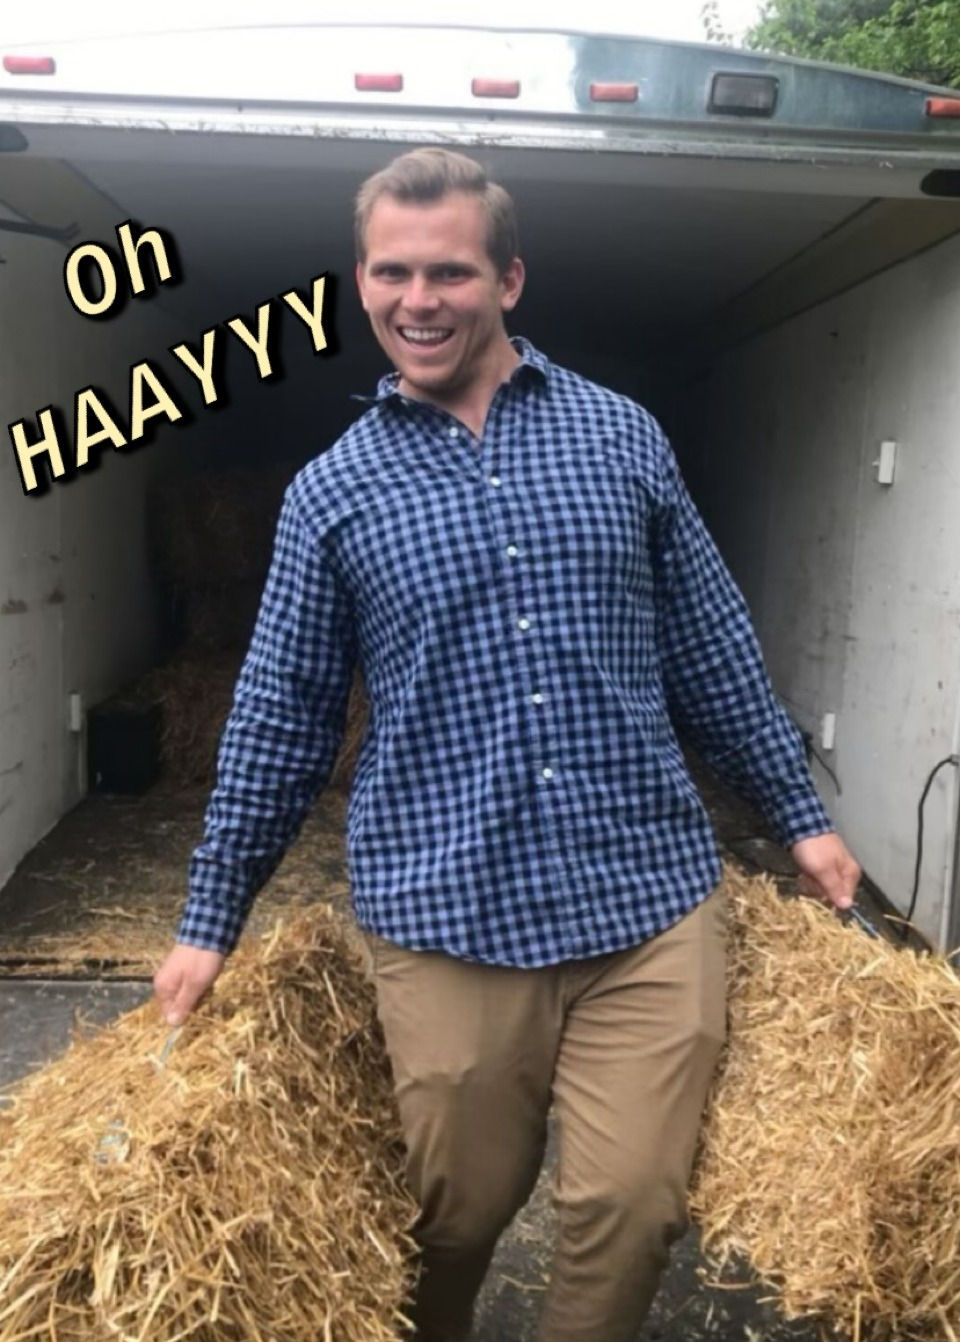
No one noticed, and if they did, they didn't care enough to question whos car trailer suddenly popped up in the lot. A plan executed flawlessly in my opinion. Plus, when the grass was too muddy to host a graduation party at the fraternity, guess who had a 20 ft car trailer ready to pick up a ton of straw from the local farmer I met at Tractor Supply? I did accidently kidnap the farmer's dog on that trip. During the drive home I got a call - "Hey man.... do you mind pulling over and checking if my dogs in the trailer." I immediately pulled over, opened the door, and sure enough the dog was sitting there. Horrified, I let him know I had him. Luckily the farmer just laughed and replied "stay where you are I'll come grab him" and he was returned safe and sound.
Fast forward a few years - Everyone is working from home, there's nothing going on outside of work. The trailer has served us well over the years. There was still some random loose straw hanging around inside which was annoying, but it rolled and hauled the cars so who could complain. My car was broken, and I hated pushing it up into the trailer all the time to move it around, so it all started with wanting to install a winch. To absolutely no one's surprise, the project snowballed.
The Build


So as planned, the first step was to install the winch. To do so, I went under the trailer and welded a 1/4" sheet of steel for the structural mounting. This is the video I was following. Instead of C-Channel, I used a plate that I cut to fit the frame so it could be welded to all surrounding frame pieces. While doing research on installing the winch we came to realization that it would be easiest to have an independent battery in the trailer. That opened the flood gates to what was possible knowing the battery would be there. Like many other trailers, there was a 110v plug at the back that could be hooked to a generator or outlet to power the big interior lights and trailer outlets. That wasn't extremely useful for us at the track because we didn't have or want a generator, but we did now have a big deep cycle battery.
This led to us building a secondary system of 12v power in the trailer. The way the trailer frame was underneath, the winch couldn't be mounted up tight against the wall. So, in an effort to save space we moved it far enough away to mount the Battery Mounting Tray behind it. The winch would be wired directly to the battery, and the rest of the 12v system went to a big dawg Battery Disconnect Switch mounted through the front wall of the trailer. We went through the front so you wouldn't have to go back into the trailer after forgetting to turn it off at the end of the day.
To control everything, we decided on a Switch Panel that included some charging ports for phones and a voltage gauge to monitor battery power. We were only powering lights and the switched 12v (remote) wire for the amplifier off the panel, but it was nice to be able to have switches to control separate zones of lighting so we wouldn't light up the whole neighborhood every time we needed to do a small task.
For exterior lighting, we used a Three-Piece Light Bar Kit on each side and a Two-Piece Light Bar Kit on the rear. We had to drill through the top sections of the trailer for the mounting studs and wiring, so we sealed everything (including the battery disconnect switch) with Marine Grade Clear Silicone.
For interior lighting, we added eight 12v Interior Lights and left the 110v lighting that was already there in place. We decided on a large quantity of small lights because we needed good lighting everywhere, not a spotlight with more lumens than the sun pointed at one single spot. I see a lot of people make that mistake when adding LEDs.
The stereo system was added to the list of things to do because I had that amp laying around and realistically why not? My dad is quite a craftsman with wood and volunteered to build those boxes out of old shelves we had laying around. The amp picked up signal from a Marine Bluetooth Receiver and powered four 6.5" Kicker Speakers. The Bluetooth Receiver we have used in just about every project is no longer available, but the one linked is what I would choose today. The Bluetooth receiver is great because it totally eliminates the need for a head unit and is a simple four wire hookup that can be hidden away. The only wiring is a Switched 12v, ground, and two RCA connectors for the amp. I always power the switched 12v of the receiver and remote wire of the amp together, so one switch turns on both devices and you're ready to go. As far as the speakers go, you can't go wrong with these. I have them in the truck and trailer, and the marine version in both boats.


Next, it was time to finally remove the previous owner's decals. To remove them, we originally tried a heat gun with a plastic razor, and it was brutal. I was skeptical in fear of damaging the single stage paint of the trailer, but we eventually decided to use a Decal Remover Wheel. The paint was ROUGH on our trailer, and we did end up burning through in a few places, but it was substantially quicker this way. It was a good thing we had those lights outside the trailer when removing the decals at night.
With the decals removed, I started on a paint correction to try to shine it up a bit. I did my classic three step process (which you can read about here) on the whole trailer and it took forever, but the end result was worth it. I used the same products as I would on a car but had to be a bit more careful because of the single stage paint. In the photos above you'll see a few progress photos of the paint correction and metal polishing.


Next, we moved back inside to get to work on the interior. All of the wiring and mounting was already done, so we were ready to get everything ready for Paint.
At this time, I still had my (white) Hayabusa and Brett was just getting into racing with his (red) Hayabusa so we figured we should try to have the trailer set up to transport the bikes as well. We installed Flush Mount Wheel Chocks and eventually E-Tracks for tie down.
While we were working on that, my dad and Mike were getting after it fixing all of the old mounting holes the previous owner put in the walls, sanding, and priming. My Dad also made the bench mounted above the toolbox.


With all of the prep work done, we started on the ceiling and upper portion of the wall with the white paint. Then, we taped it off to be level with the bench and did the bottom portion in black. All of the paint was Behr Outdoor Gloss that we picked up from Home Depot. We went with Full gloss for the light reflection and tougher finish.

With the walls looking so good, we decided we had to do the floor. We ended up using an Epoxy Garage Floor Kit. While doing research beforehand, a lot of people advised against this because the wood will shrink and expand too much with temperature. We sanded and prepped the floor well and three years later we don't have any issues with the epoxy cracking or chipping off.


Finally, it was time for the decals (my favorite part). It was the original photo shopped vision coming together in reality but even better. I picture people on the highway seeing the Mullet Head on the back and thinking "What the HELL is that???" only to drive up beside us and see the Mulletz Garage decal written off across the side. I love it.
We did eventually get the E-Tracks installed as you can see in the additional photos below.


Comments